
← The Chronicle · Learn the Moves
Before You Recapture: Finding the Zwischenzug
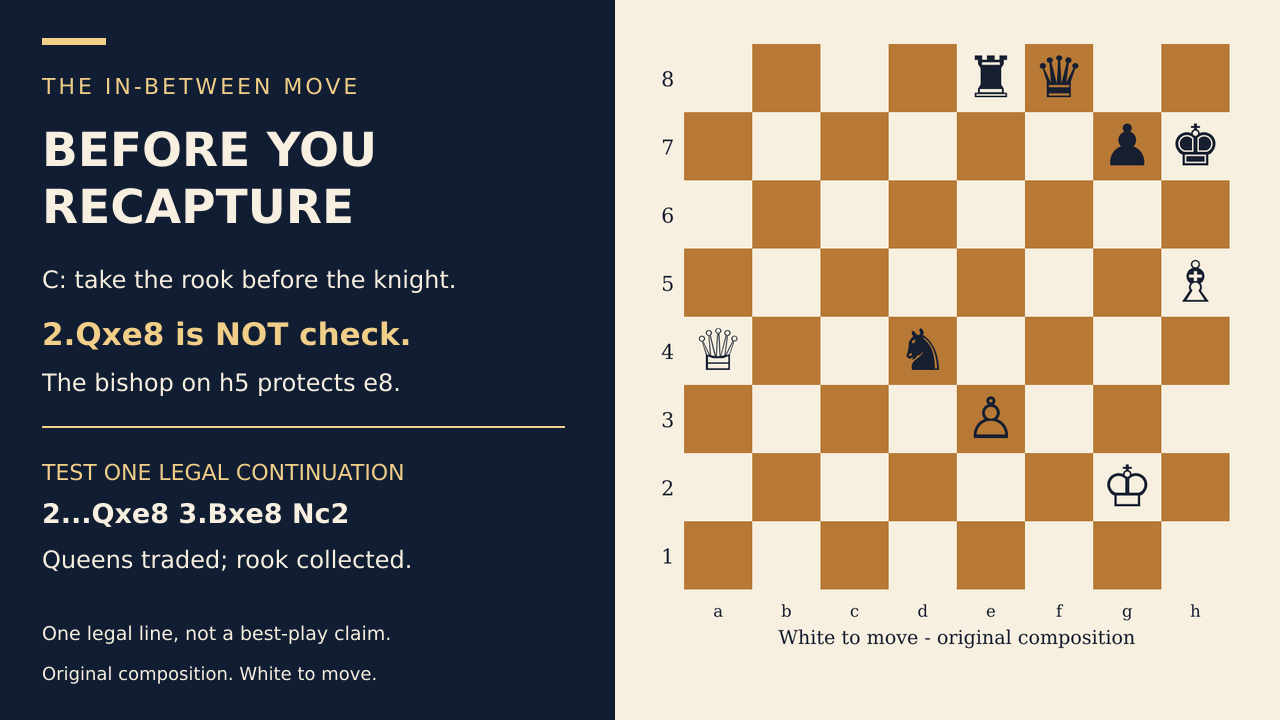
Featured diagram — selectable description. White is at the bottom; a1 is bottom-left. Files a through h run left to right; ranks 1 through 8 run bottom to top. All unlisted squares are empty[4]. The in-between move: Before you recapture. Position C: take the rook before the knight[4]. White to move: White king g2, queen a4, bishop h5, pawn e3; Black king h7, queen f8, rook e8, knight d4, pawn g7[4]. 2.Qxe8 is NOT check[4]. The bishop on h5 protects e8 along h5–g6–f7–e8[4]. Test one legal continuation: 2.Qxe8 Qxe8 3.Bxe8 Nc2[4]. Queens traded; rook collected[4]. This is one legal line, not a best-play claim[4]. Original composition, not a historical game[4].
View full featured illustration. Use the browser zoom controls for the native-size image, then Back to return to the article.

Your opponent captures a piece. Before automatically taking it back, ask: does that recapture have to happen now?[3]
A zwischenzug—an in-between or intermediate move—interrupts an expected continuation with a more urgent problem.[1] Often that continuation is a recapture; the idea is to change the move order, not merely to surprise your opponent.[3] Compare recapturing now with doing something useful first, and judge the resulting positions rather than the first threat.[3]
What makes an interruption useful?
The inserted move earns its place by changing the result of the sequence.[3] A check, queen attack or mating threat may provide the opportunity, but an impressive interruption is not automatically a successful tactic.[3] The delayed move need not always be a recapture; here we concentrate on exchanges to make the comparison clear.[3]
Does a zwischenzug have to be check?
No: queen attacks, mating threats and other urgent moves can also qualify.[3] But legally compulsory and tactically urgent are different things: the rules prohibit leaving your own king in check.[2] A check must be answered, whether by moving the king, capturing the checking piece or blocking its line when possible.[2]
An attack on a queen does not impose that same legal obligation.[2] The defender may move the queen, capture the attacker, countercheck or ignore the attack if the resulting move is legal.[2] Whether an alternative works is a tactical question, not a rule requiring the queen to retreat.[3] A mating threat is likewise not an existing check; test the defender's answer rather than assuming compliance.[2] [3]
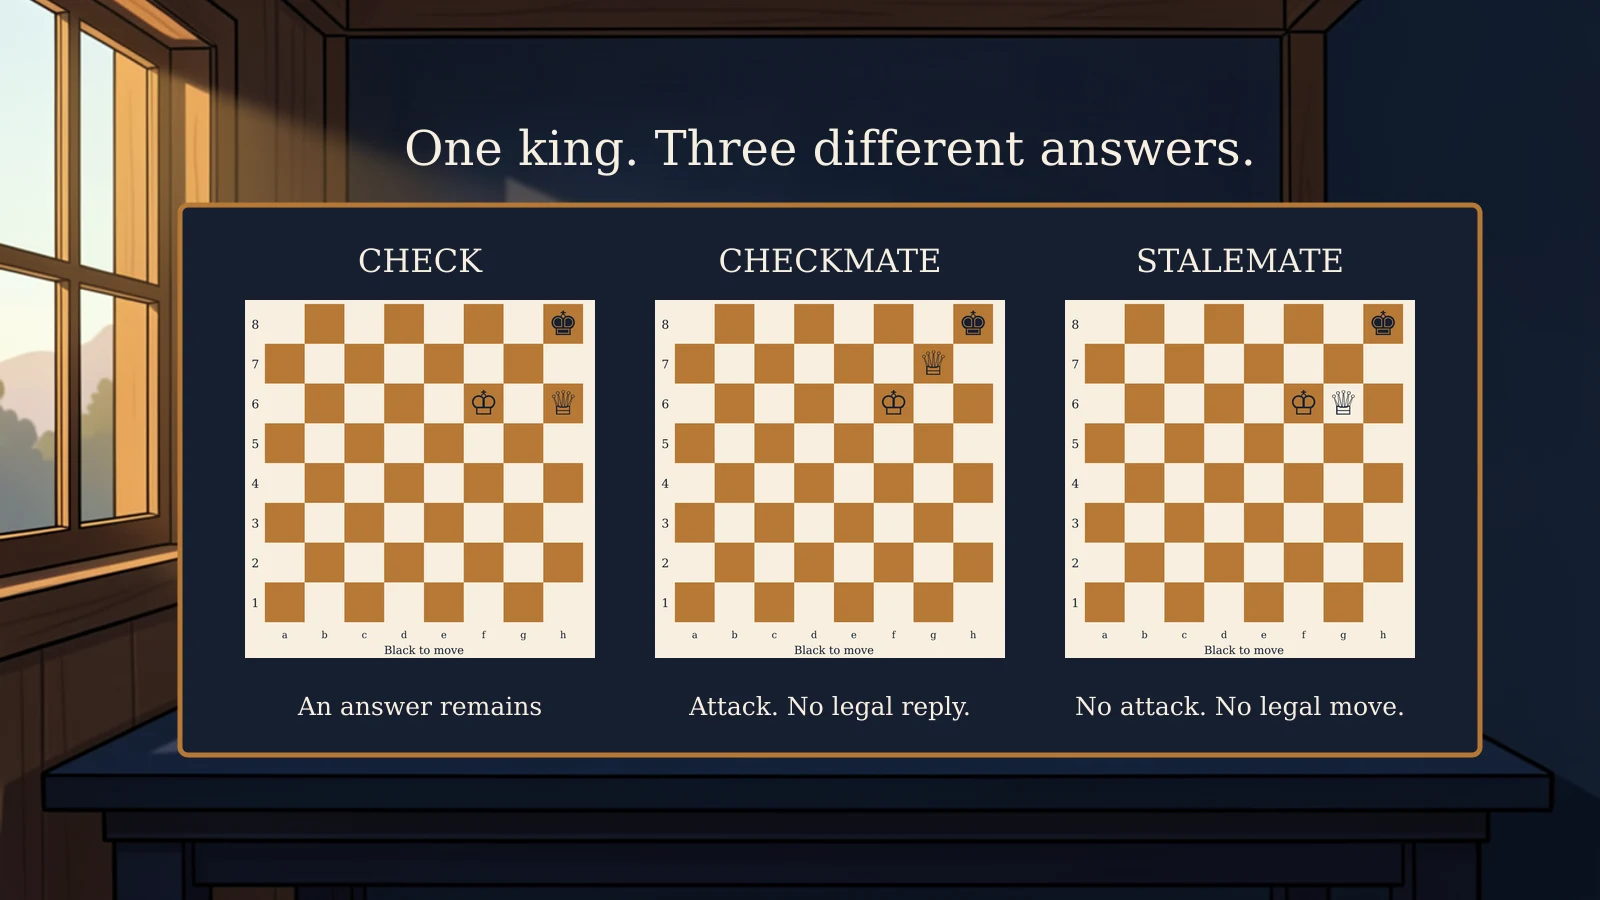
For the underlying distinction, compare the positions in check, checkmate and stalemate.
Example A: take the rook with check first
All three setups below are original compositions, not historical game positions[4]. Unlisted squares are empty; there are no castling rights or en passant captures[4]. Each starts after Black's knight moved from f5 to d4, capturing a white pawn[4]. The FEN strings let you reproduce the setups exactly[4].
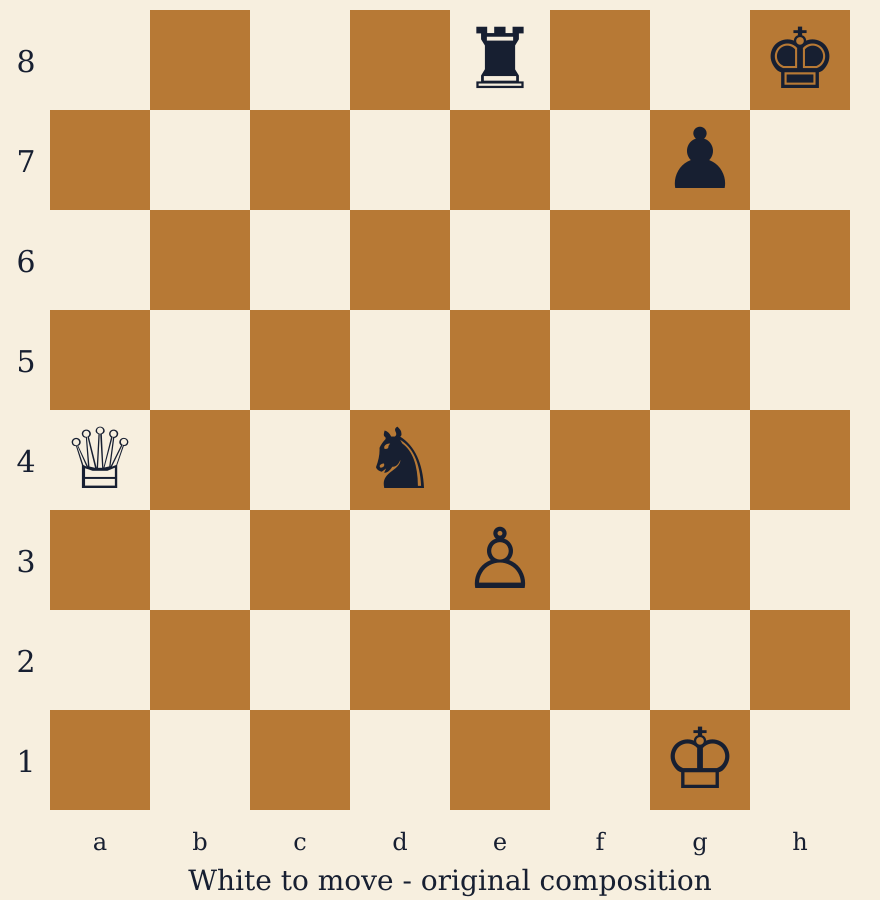
Position A, White to move: White king g1, queen a4, pawn e3; Black king h8, rook e8, knight d4, pawn g7[4].
4r2k/6p1/8/8/Q2n4/4P3/8/6K1 w - - 0 2[4]
Read the diagram description
White is at the bottom; a1 is bottom-left. Files a through h run left to right; ranks 1 through 8 run bottom to top. All unlisted squares are empty. White-at-bottom board, White to move: Black rook e8; Black king h8; Black pawn g7; White queen a4; Black knight d4; White pawn e3; White king g1. All other squares empty. A: 2.Qxe8+ Kh7 3.exd4 takes the rook before recapturing the knight. Compare 2.exd4 Rf8; neither defense is asserted best. Original composition, not a historical game; no best-move or full-history claim.
View full illustration (opens in a new tab)
A: 2.Qxe8+ Kh7 3.exd4 takes the rook before recapturing the knight[4]. Compare 2.exd4 Rf8; neither defense is asserted best[4]. Original composition, not a historical game; no best-move or full-history claim[4]. Original composition; not a historical game[4].
Selectable diagram reading. White is at the bottom; a1 is bottom-left. Files a through h run left to right; ranks 1 through 8 run bottom to top. All unlisted squares are empty[4]. White-at-bottom board, White to move: Black rook e8; Black king h8; Black pawn g7; White queen a4; Black knight d4; White pawn e3; White king g1[4]. All other squares empty[4]. A: 2.Qxe8+ Kh7 3.exd4 takes the rook before recapturing the knight[4]. Compare 2.exd4 Rf8; neither defense is asserted best[4]. Original composition, not a historical game; no best-move or full-history claim[4].
Compare 2.exd4 Rf8 with 2.Qxe8+ Kh7 3.exd4[4]. In the first line White takes the knight, but Black moves the rook off the queen's immediate capture line[4]. In the second, White takes the rook with check before recapturing the knight; Kh7 is Black's only legal answer to Qxe8+[4]. After that second line White has king, queen and pawn; Black has king and g7-pawn[4].
The check buys a turn to collect something concrete before finishing the exchange: that is the useful move-order idea[4]. [3] The comparison does not establish that Rf8 is best, that the rook can never be taken later, or that either line decides the whole game[4].
Example B: test a nonchecking candidate—do not assume success
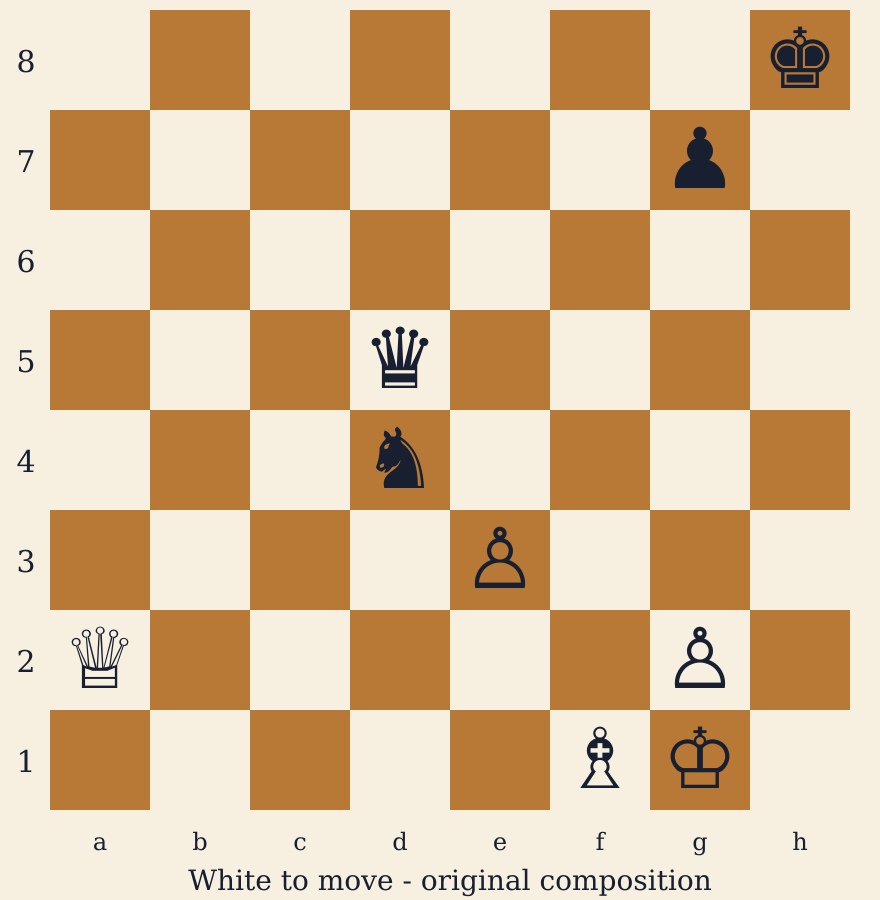
Position B, White to move: White king g1, queen a2, bishop f1, pawns e3 and g2; Black king h8, queen d5, knight d4, pawn g7[4].
7k/6p1/8/3q4/3n4/4P3/Q5P1/5BK1 w - - 0 2[4]
Read the diagram description
White is at the bottom; a1 is bottom-left. Files a through h run left to right; ranks 1 through 8 run bottom to top. All unlisted squares are empty. White-at-bottom board, White to move: Black king h8; Black pawn g7; Black queen d5; Black knight d4; White pawn e3; White queen a2; White pawn g2; White bishop f1; White king g1. All other squares empty. B: Test 2.Bc4 Qe5 3.exd4 Qxd4+. A queen attack is not check; this comparison establishes no gain from Bc4. Original composition, not a historical game; no best-move or full-history claim.
View full illustration (opens in a new tab)
B: Test 2.Bc4 Qe5 3.exd4 Qxd4+[4]. A queen attack is not check; this comparison establishes no gain from Bc4[4]. Original composition, not a historical game; no best-move or full-history claim[4]. Original composition; not a historical game[4].
Selectable diagram reading. White is at the bottom; a1 is bottom-left. Files a through h run left to right; ranks 1 through 8 run bottom to top. All unlisted squares are empty[4]. White-at-bottom board, White to move: Black king h8; Black pawn g7; Black queen d5; Black knight d4; White pawn e3; White queen a2; White pawn g2; White bishop f1; White king g1[4]. All other squares empty[4]. B: Test 2.Bc4 Qe5 3.exd4 Qxd4+[4]. A queen attack is not check; this comparison establishes no gain from Bc4[4]. Original composition, not a historical game; no best-move or full-history claim[4].
2.Bc4 attacks the queen without check, and White's queen protects the bishop[4]. Does that make it useful? Try the defender's replies before deciding.[3]
- Retreat: 2.Bc4 Qe5 3.exd4 Qxd4+[4]. Black takes the pawn with check, just as in 2.exd4 Qxd4+[4]. The bishop has changed squares, but this comparison establishes no material gain or other tactical benefit from Bc4[4].
- Capture the attacker: 2.Bc4 Qxc4 3.Qxc4 exchanges Black's queen for White's bishop[4].
- Ignore it: 2.Bc4 Nc2 3.Bxd5 loses Black's queen[4].
- Countercheck: 2.Bc4 Nf3+ 3.gxf3 or 2.Bc4 Ne2+ 3.Bxe2 changes how White captures the knight[4].
- Check with the queen: 2.Bc4 Qxg2+ 3.Kxg2 lets White capture it[4].
These are legal response-testing exercises, not proof that Bc4 is a successful zwischenzug[4]. An opponent's cooperation cannot establish your tactic's value; compare what remains against a defense that actually addresses it.[3]
There is also a clear warning against choosing a check merely because it is check: 2.Qa8+? Qxa8 3.exd4[4] loses White's queen[4]. Black captures it along d5–c6–b7–a8[4]. Recapturing the knight does not repair that loss[4]. Capturing the checking piece is a valid way to answer check when it removes the king's attack.[2]
Example C: a nonchecking insertion with a concrete benefit
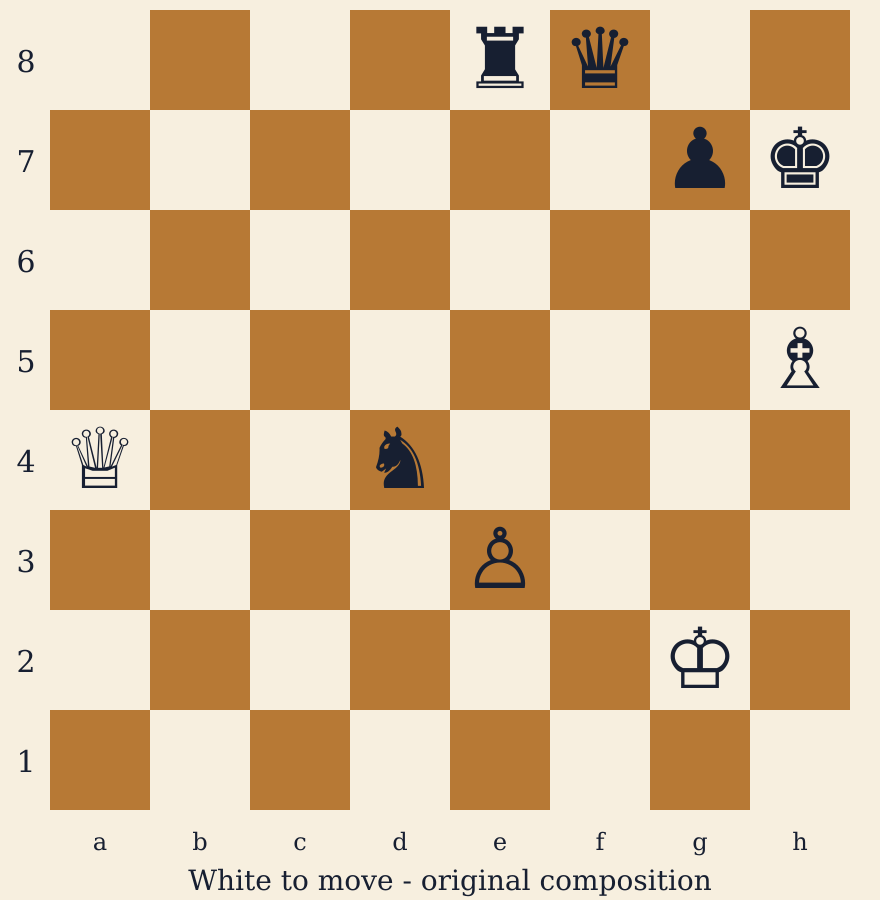
Position C, White to move: White king g2, queen a4, bishop h5, pawn e3; Black king h7, queen f8, rook e8, knight d4, pawn g7[4].
4rq2/6pk/8/7B/Q2n4/4P3/6K1/8 w - - 0 2[4]
Read the diagram description
White is at the bottom; a1 is bottom-left. Files a through h run left to right; ranks 1 through 8 run bottom to top. All unlisted squares are empty. White-at-bottom board, White to move: Black rook e8; Black queen f8; Black pawn g7; Black king h7; White bishop h5; White queen a4; Black knight d4; White pawn e3; White king g2. All other squares empty. C: 2.Qxe8 Qxe8 3.Bxe8 Nc2 captures the rook before exchanging queens. Qxe8 is not check; the bishop on h5 protects e8. Original composition, not a historical game; no best-move or full-history claim.
View full illustration (opens in a new tab)
C: 2.Qxe8 Qxe8 3.Bxe8 Nc2 captures the rook before exchanging queens[4]. Qxe8 is not check; the bishop on h5 protects e8[4]. Original composition, not a historical game; no best-move or full-history claim[4]. Original composition; not a historical game[4].
Selectable diagram reading. White is at the bottom; a1 is bottom-left. Files a through h run left to right; ranks 1 through 8 run bottom to top. All unlisted squares are empty[4]. White-at-bottom board, White to move: Black rook e8; Black queen f8; Black pawn g7; Black king h7; White bishop h5; White queen a4; Black knight d4; White pawn e3; White king g2[4]. All other squares empty[4]. C: 2.Qxe8 Qxe8 3.Bxe8 Nc2 captures the rook before exchanging queens[4]. Qxe8 is not check; the bishop on h5 protects e8[4]. Original composition, not a historical game; no best-move or full-history claim[4].
Try 2.Qxe8. It is not check: White captures the rook and attacks the queen on f8, while the bishop on h5 protects e8[4]. Unlike Position B, there is already a captured rook to account for[4].
One sensible response to test is exchanging queens: 2.Qxe8 Qxe8 3.Bxe8 Nc2[4]. Both queens have gone, and Black can move the knight away rather than wait for exd4[4]. White nevertheless collected the rook before the exchange of queens[4]. White now has king, bishop and pawn; Black has king, knight and pawn[4].
Compare immediate recapture: 2.exd4 Re7[4]. White captured the knight, but the rook escaped the queen's immediate capture line and both queens remain[4]. The two lines illustrate taking a rook before Black's next turn instead of taking the knight first—not a claim that either defense is best[4].
A queen retreat still needs calculation: 2.Qxe8 Qf6 3.exd4 Qxd4 lets Black recover the pawn[4]. Do not stop at exd4 or promise recovery of every original target.[3] A countercheck must also be answered: 2.Qxe8 Qf3+ 3.Bxf3 Nxf3 trades Black's queen for White's bishop after the rook was captured[4]. Alternatively, 2.Qxe8 Qg8 3.Qxg8+ Kxg8 exchanges queens and leaves the rook gain intact[4].
The retained local calculation tests every legal Black reply to Qxe8, not only these illustrative choices[4]. Using pawn = 1, knight/bishop = 3, rook = 5 and queen = 9 solely as material bookkeeping, White begins five points behind; for each reply, a legal White continuation exists that leaves White at least level in material after every following Black move[4]. Thus the nonchecking insertion has a concrete, bounded material benefit even when Black refuses the displayed queen exchange[4]. This is not a promise of eventual victory, a best-move assessment or proof that immediate recapture always gives an inferior game[4].
Finish the exchange before judging it
Compare what remains after both players' replies, not merely what your first move threatens.[3] The examples suggest four questions: Can I still recover the original target? Is my king or queen exposed? Which piece actually recaptures? What did the opponent gain or move in between?
A recapture that leaves your king attacked is illegal.[2] If moving a piece exposes a line behind it, consult the guide to absolute and relative pins rather than assuming all pinned pieces are immobile.
Before starting your own exchange, scan the opponent's possible checks, queen attacks and urgent threats too.[3] The same move-order freedom belongs to both players.[3] For practice at a pace that leaves thinking time, see the beginner comparison of rapid, blitz and daily chess.
Try a setup with a partner: name the immediate recapture, propose an insertion, and let your partner choose another legal reply. Compare the resulting positions rather than rewarding the most dramatic-looking threat.[3] After a finished game, revisit one capture and ask: what could happen before the expected move?[3]
What was checked?
The preceding captures and all displayed branches were replayed with chess.js 1.4.0[4]. The retained package enumerates every Black reply and White continuation after the three named candidates; a separate lookahead audit checks every Black follow-up to C's chosen White responses[4]. These checks cover legal moves and the stated short-horizon material comparison, not engine evaluation, unique best moves, full-game outcomes or complete-history reachability[4]. Rules sources support movement and king safety; the compositions, reply counts and calculated outcomes are our own local analysis, not claims supplied by FIDE[4].
Sources
Related stories
Learn the Moves
Check, Checkmate and Stalemate: What Is the Difference?
Learn the difference between check, checkmate and stalemate with three exact positions, legal replies and a short practice check.
Read the story →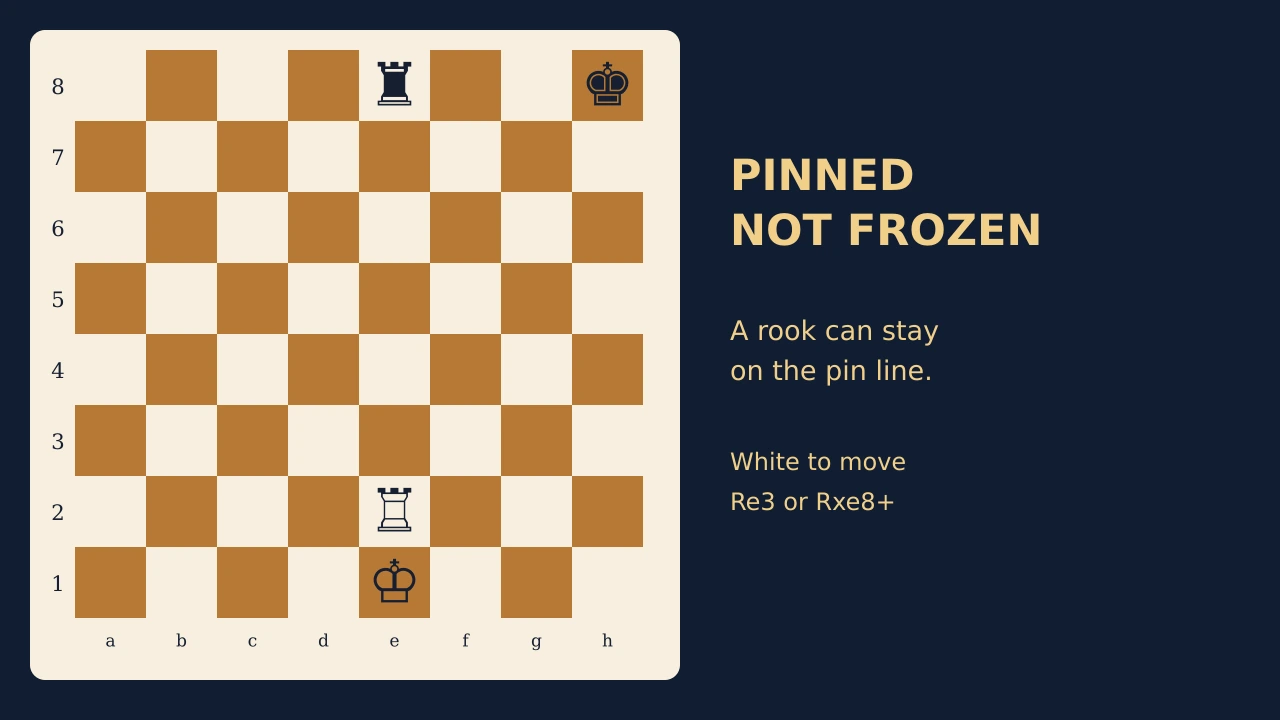
Learn the Moves
Can a Pinned Piece Give Check? Absolute and Relative Pins Explained
Pinned does not always mean frozen. Three exact positions separate legal moves, attacks and material risk.
Read the story →
Learn the Moves
Rapid vs. Blitz vs. Daily Chess: Which Should Beginners Play?
Start with room to notice threats, not just room to click. Compare per-player clocks and per-move deadlines, then choose a pace you can finish.
Read the story →